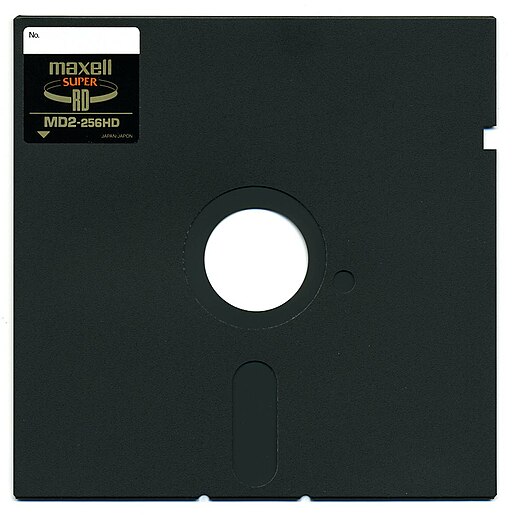
Your 5.25" floppy disk like the one pictured above can be accessed through the USB external drive. You will need to know the computer type/operating system which the information was saved to the disk and select the appropriate option in the software. See below for details. Most often you will be creating a "disk image" of your disk which you can then mount or extract the files from (see Accessing your image files section).
Installing the software
The 5.25" drive requires some additional software in order for it to run on your computer. There is a USB stick in the kit which contains the software needed.
- Remove the USB stick from the box and plug it into your computer.
- Open the contents of the stick and navigate to the User's guide in the "Manual" folder.
- Follow the guidance on pages 4-6 for installing the software on your specific operating system, those using Windows 10 should follow the Windows 8 instructions.
- When finished, remove the USB stick from your computer and return it to the box.
Using the drive
Once you have installed the software on your computer, you can now set up the drive.
- Remove the drive from the box.
- Plug in the USB cord into your computer.
- Plug the plug into a standard wall outlet. It is important to do this after plugging in the USB cord.
- Take your disk and insert it into the drive label side up with the end with the oval hole going in first. When the disk is in place you will hear a click.

- Swing the drive latch down so it is now in a vertical position.

- Find and open the program you installed earlier, it will be called "Disk imaging and Recovery" on Windows or "MacDIB" on a Mac.
- Under the "Source Drive" heading, it should read "FC5025 Floppy Controller."
- Under "Disk Type," select the type of system in which the files on the disk was saved at time of creation (or your best guess). MS-DOS 360k or 1200k is good to try for most IBM style machines of the time period.

- If it is an MS-DOS based disk, you can click the 'Browse Disk Contents" button to look at a file listing on the disk. However this may still not work even if an MS-DOS based disk. If this doesn't work or would prefer a disk image, proceed to step 10.
- If this does work, you may be able to copy individual files over instead of making a disk image.
- You can select the file you want to copy and select "Copy File"

- A screen will pop up asking where you want to save the file and what to name it. Make your selections and click Ok.
- If saved, the top of the window will read "Copied file" as seen above.
- You can repeat this process for the other files. When done, proceed to step 13.
- Select a path where you want the image of the disk to be saved under "Output Image Directory", such as C:\Users\joe\Documents
- Select a name to call you disk under "Output Image Filename." Keep the extension the same as that will generally be correct for the type of disk you selected.
- Click the "Capture Disk Image File" button. A Progress screen will then pop up.

- If there are many errors (on almost every track), you may have selected the wrong format. Try a different format and restart the process. A few track errors can be normal with old media and can still produce a working image. If successful you will see an image like the one below.

- When finished, flip the latch up and remove the disk.

- If you have another disk, insert it and start again at step 4.
- If you are done, unplug the drive from the wall outlet and then the usb from your computer. You can then return the drive and the usb stick into its box.
Accessing your image files
If you created a disk image, you will have to take a few more steps to actually access the files. You may need an emulator to access the files depending on the original operating system. See the "Using disk images" and "Finding old software" sections of this article for more information.
However, some files you may be able to mount and extract some files without an emulator. You may be able to mount your files in your normal operating system using the steps outlined here.
There are also tools for mounting and extracting files such as:
- The tools described under "Image File Compatibility" at this link.
- A number of tools and packages for accessing disk images from different operating systems described in this article.
Beyond just getting the files, in order to open them there a few different routes:
- Convert the files to a currently accessible format (try searching for "convert [insert format here]")
- Have a file that can still be read in current-day software (LibreOffice, for instance, can be useful with some older formats).
- Open the file in an emulated version of the original software, if it's available.


